Highlight & Contour: Sculpting the Perfect V‑Shaped Face
Introduction
Contouring and highlighting have revolutionized makeup artistry, turning the face into a three‑dimensional canvas. By strategically applying darker shades to recede and lighter hues to advance, you can sculpt your features—slimming the jawline, lifting the cheekbones, sharpening the nose, and emphasizing the Cupid’s bow—for the coveted “V‑shaped” silhouette beloved in K‑Beauty and runway looks. This guide unveils the science, products, tools, and techniques you need to:
- Decode facial anatomy and light dynamics.
- Choose contour and highlight products to suit skin type, tone, and finish.
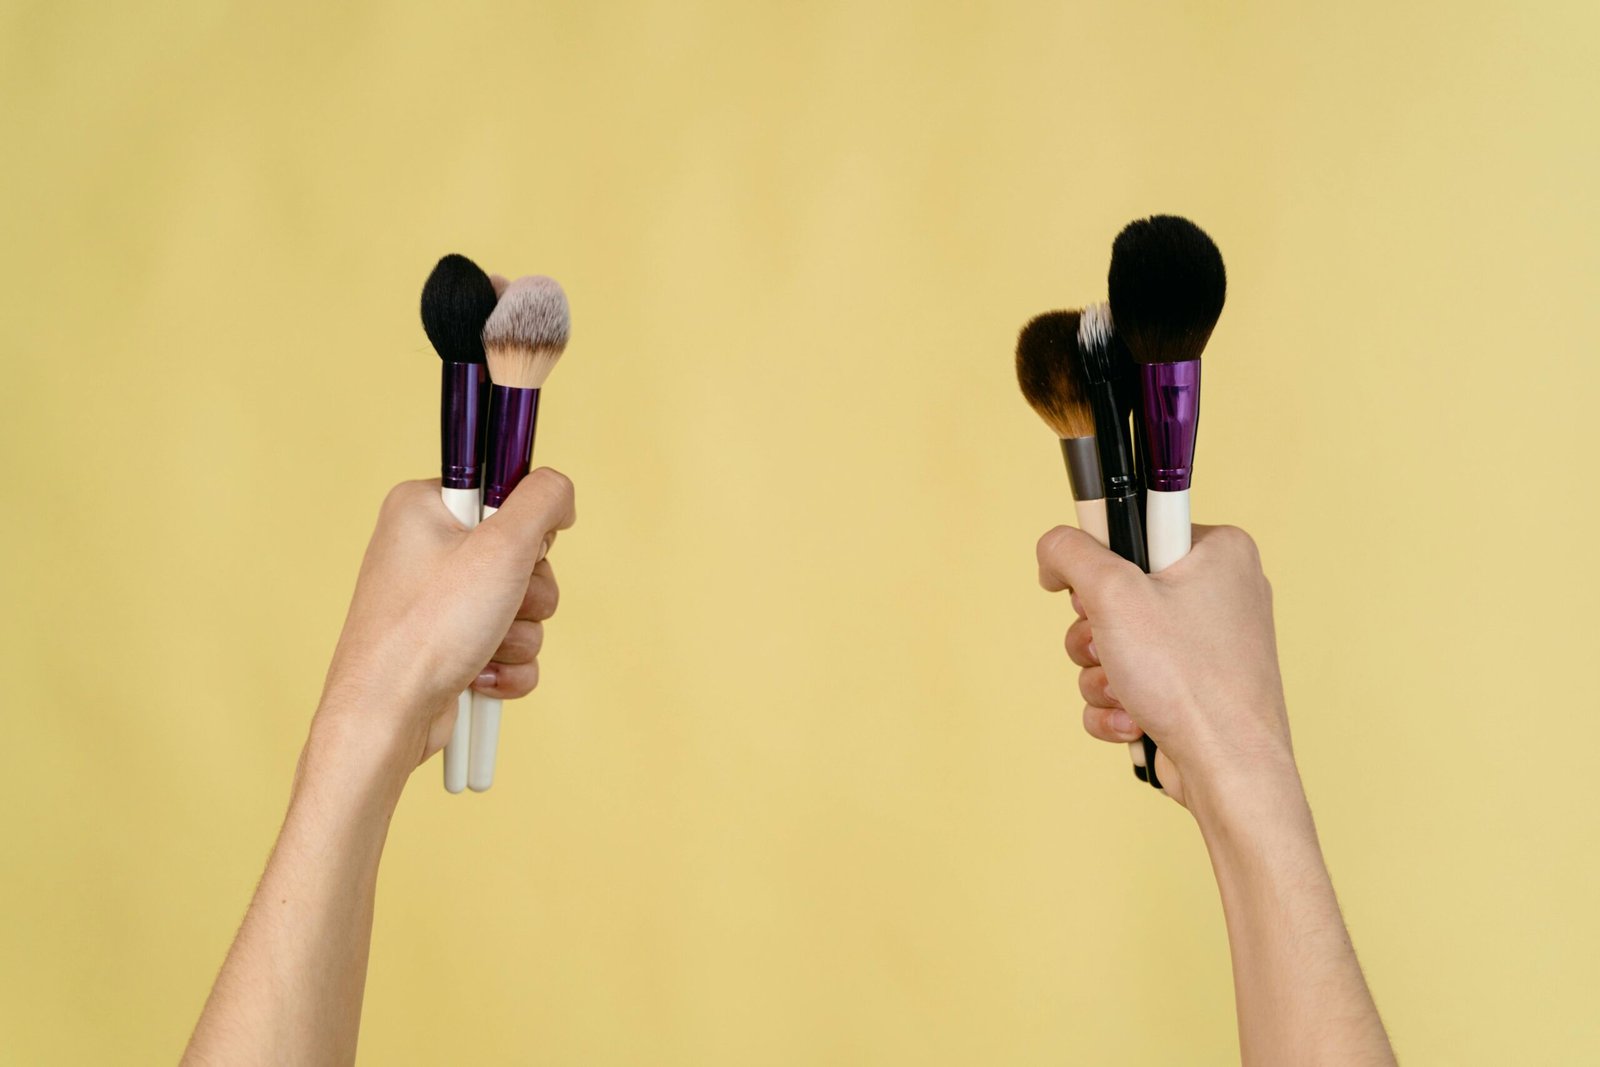
- Select brushes, sponges, and tools for precision and seamless blending.
- Adapt placement to your unique face shape (round, square, heart, oval, oblong, diamond).
- Follow a step‑by‑step tutorial from priming to setting spray.
- Master advanced methods: strobing, baking, dual‑texture layering, and color correction.
- Adjust your contour for different lighting environments and photography needs.
- Troubleshoot common pitfalls—muddy lines, texture emphasis, oxidation.
- Perform on‑the‑go touch‑ups with a portable kit.
- Explore the top 20 pro‑recommended products at every price tier.
- Get expert answers in the definitive FAQs.
Whether you’re a beginner seeking a natural lift or a makeup pro crafting dramatic edits, this guide will empower you to sculpt, refine, and glow with confidence.
1. Decoding Facial Anatomy
Effective contouring hinges on understanding how light and shadow interact with the face’s planes and angles. Key landmarks:
- Forehead (Frontal Bone): The central plateau catches light; contour at the temples to narrow width.
- Brow Bone (Supraorbital Ridge): Highlight here lifts the eyes; contour under brow tail adds depth.
- Cheekbones (Zygomatic Arch): The apex is prime highlight real estate; hollow beneath is contour target.
- Under‑Eye Area (Infraorbital Hollow): Brightening concealer corrects dark circles and enhances highlight.
- Nose (Dorsum & Sides): Slimming achieved by shading the sides and highlighting the bridge.
- Jawline (Mandible): Contouring under the jaw slims the lower face; highlight at the chin tip accentuates V shape.
- Chin (Mental Protuberance): Forward projection ideal for highlight—draws focus downward.
Plotting these zones on your bare face in daylight reveals your natural shadow contours, guiding precise product placement.
2. Product Selection & Shade Matching
2.1 Contour Formulas
- Cream Contours: Emollient bases that blend effortlessly into skin; ideal for dry or mature complexions. Brands: Fenty Beauty Match Stix Matte, Kevyn Aucoin Creamy Contour.
- Powder Contours: Matte, buildable pigments; best for oily or combination skin. Brands: Anastasia Beverly Hills Powder Contour Kit, Huda Beauty Tantour.
Choosing Your Shade: Pick one to two shades deeper than your skin tone. Ash‑based taupes suit cool undertones; neutral browns for balanced tones; warmer browns complement warm undertones.
2.2 Highlight Formulas
- Liquid Highlighters: Sheer luminosity that melds under foundation. Brands: BECCA Shimmering Skin Perfector Liquid, RMS Living Luminizer.
- Cream Highlighters: Versatile application over or under foundation. Brands: Maybelline Master Strobing Stick, Charlotte Tilbury Hollywood Flawless Filter.
- Pressed/Loose Powders: Maximize reflection for dramatic effect. Brands: MAC Mineralize Skinfinish, Laura Mercier Loose Setting Powder (baking).
Finish Matters: Seek fine, micro‑shimmer rather than chunky glitter to avoid emphasizing pores or skin texture.
2.3 Tools & Brushes
- Angled Contour Brush: Tapered bristles follow hollows.
- Flat Foundation Brush: Packs on and diffuses cream products.
- Beauty Sponge: Damp use sheers out creams and seamless blending.
- Tapered Highlight Brush: Precise powder placement.
- Small Fluffy Blending Brush: Buffs harsh edges for seamless gradation.
Investing in professional‑grade tools yields a polished, streak‑free finish.
3. Placement by Face Shape
Tailor your contour to accentuate or minimize features based on overall shape.
3.1 Round Faces
Goal: Create vertical length.
Contour: Under cheek hollows, at temples, along jawline.
Highlight: Center forehead to chin, under eyes.
3.2 Square Faces
Goal: Soften strong angles.
Contour: Corners of forehead, jaw angles.
Highlight: Center of forehead, cheek apex.
3.3 Heart Faces
Goal: Balance wider brow and narrower chin.
Contour: Temples, under cheekbones.
Highlight: Chin tip, center of forehead.
3.4 Long/Oblong Faces
Goal: Shorten vertical length.
Contour: Top of forehead, bottom of chin.
Highlight: Horizontal across cheekbones.
3.5 Diamond Faces
Goal: Broaden narrow forehead and chin.
Contour: Under cheekbones, narrow jaw.
Highlight: Center forehead, chin, under eyes.
Consult a mirror while marking placement with a neutral makeup pencil before blending.
4. Core Techniques
4.1 Cream Base Layer
Apply cream contour first to sculpt; follow with cream highlight. Use sponge to blend in upward motions, diffusing harsh lines.
4.2 Baking
For long‑wear definition, use translucent powder under eyes, sides of nose, jawline. Wait 5–10 minutes, then dust off excess.
4.3 Powder Reinforcement
Layer matte powder contour over cream in hollows for depth; apply powder highlight over cream points for amplified glow.
4.4 Color Correction
If under‑eye discoloration persists, apply peach/salmon corrector before highlight to ensure uniform brightness.
4.5 Layering & Blurring
Alternate small build‑up layers—cream, blend, powder, blend—to avoid cakey finish and maintain skin dimension.
5. Step‑by‑Step Routine
- Prime skin with hydrating, smoothing primer.
- Build a medium coverage base with foundation.
- Map cream contour: hollows of cheeks, temple, jawline.
- Blend cream contour with damp sponge.
- Apply cream highlight to under‑eyes, nose bridge, Cupid’s bow, chin.
- Blend highlight, ensuring soft edges.
- Bake under eyes and jaw for 5–10 min.
- Dust baking powder away with fan brush.
- Set contour hollows with powder contour.
- Press powder highlight atop cream highlight.
- Apply blush to merge contour and highlight.
- Finish with setting spray for cohesion and longevity.
Approximate total time: 25 minutes.
6. Adapting for Lighting & Photography
Adjust your finish and intensity for different environments:
- Daylight: Softer, more natural blends; neutral undertones.
- Studio flashes: Slightly deeper contour and brighter highlight to register on camera.
- Ring lights: Avoid over‑highlighting forehead center to prevent hotspot glare.
- Smartphone selfies: Emphasize cheek and jawline most visible at arm’s length.
Test under the exact lighting you’ll encounter.
7. Troubleshooting
- Muddy Color: Typically from warm undertones in contour shade. Switch to cooler taupe.
- Patchy Blend: Tools or product buildup? Clean brushes and dampen sponges.
- Over‑Highlight Texture: Use micro‑shimmer or mix liquid highlight with moisturizer.
- Oxidation: Test wear; use mattifying primer and blot oil‑prone areas before applying.
8. On‑the‑Go Touch‑Ups
- Pack a slim contour stick and travel‑size powder palette.
- Use blotting sheets to mattify before re‑applying powder.
- A mini blending sponge prevents patchy midday touch ups.
9. Top 20 Products Recommended
Fenty Beauty Match Stix Matte; Anastasia Beverly Hills Powder Contour Kit; Huda Beauty Tantour; Kevyn Aucoin Creamy Contour; MAC Studio Sculpt; Viseart Sculpting Palette; NARS Liquid Highlighter; BECCA Shimmering Skin Perfector; RMS Living Luminizer; Charlotte Tilbury Airbrush Flawless; NYX Wonder Stick; Laura Mercier Translucent Powder; Milk Makeup Matte Bronzer; Hourglass Ambient Lighting Powder; Physicians Formula Butter Bronzer; The Ordinary Contour Tint; Wet n Wild MegaGlo; Ilia Beauty Limitless; L’Oréal True Match Bronze; Tarte Shape Tape to Finish.
10. FAQs
Q1: Cream vs. powder—what’s best?
A: Creams for hydration and blend; powders for longevity and oil control.
Q2: Can I contour without foundation?
A: Yes—light moisturizer and direct contour works for sheer, natural days.
Q3: How to avoid emphasizing pores?
A: Use finely milled products and apply sparingly in textured areas.
Q4: How often clean tools?
A: At least weekly, ideally after every heavy‑use application.
Q5: Working with mature skin?
A: Focus on cream formulas and less powder to avoid settling into fine lines.
Conclusion
Mastering highlight and contour transforms your makeup routine from two‑dimensional to artful sculpture. By understanding anatomy, selecting the right products, placing shades precisely, and blending flawlessly, you can achieve a beautifully defined V‑shaped face that enhances your natural beauty. Now, pick up your favorite contour stick, blend those cream lines, dust on your highlight, and sculpt your perfect small‑V masterpiece!


